How to Prepare Your Bathroom for a Toilet Installation
Essential Steps for Setting up Your Bathroom
Preparing your bathroom for a new toilet installation can seem daunting, but with the right steps, it becomes manageable. Whether you are updating an old fixture or installing one in a new space, preparation is key. This guide will walk you through each stage of the process, ensuring that you have everything you need before you start. From gathering tools to checking plumbing connections, every detail matters. By following these steps, you’ll set the stage for a smooth and successful project.

Gathering Necessary Tools and Materials
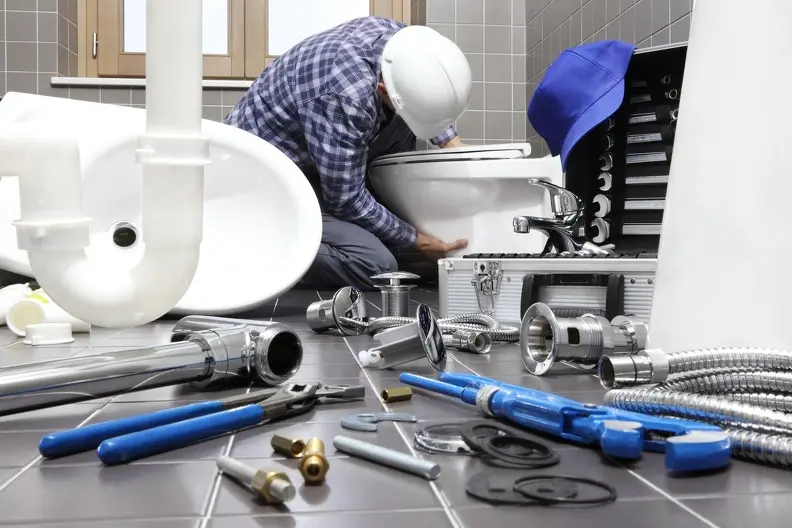
Before beginning any task, it’s vital to gather all necessary tools and materials. For a toilet installation, ensure you have a wrench, screwdriver, plumber’s tape, and a bucket. You will also need a new wax ring and bolts if they don’t come with your new toilet. Having these items ready prevents interruptions during the installation process.
Evaluating the Current Plumbing Setup
Next, evaluate your current plumbing setup. Inspect existing pipes and seals for any wear or damage. It’s important to address these issues before proceeding with the toilet installation. Ensuring that your plumbing is in good condition will prevent future leaks and complications. Additionally, check that the water supply line is functioning and easily accessible.

Removing the Old Fixture
If you’re replacing an old toilet, removal is your first step. Shut off the water supply and flush the toilet to empty the tank and bowl. Disconnect the water supply line using a wrench. Carefully unbolt the toilet from the floor and remove it gently to avoid breaking any surrounding tiles or fixtures.
Cleaning and Preparing the Area
Once the old toilet is removed, clean the area thoroughly. Scrape away any remnants of the old wax ring from the flange using a putty knife. Cleaning ensures that the new unit has a proper seal and prevents odors or leaks. Take this time to inspect the condition of your flooring around the flange as well.
Installing the New Wax Ring
The next crucial step involves placing a new wax ring on the flange. The wax ring creates a watertight seal between the base of your toilet and the flange on the floor. This step is critical for preventing leaks post-installation. Ensure it is centered perfectly before moving forward.
Positioning and Securing the New Toilet
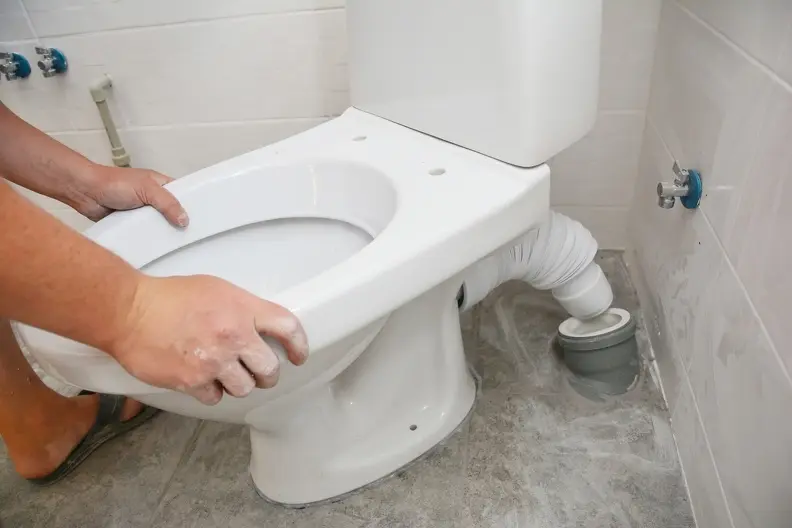
With the wax ring in place, you’re ready to position your new toilet over it. Line up the holes at the base of the toilet with the bolts on the floor. Once aligned, press down firmly but carefully to compress the wax ring and create a secure seal. Finally, tighten the nuts onto the bolts without overtightening, which could crack your toilet base.
Connecting Water Supply and Testing
After securing your toilet to the floor, reconnect the water supply line. Turn on the water valve slowly, allowing the tank to fill while checking for leaks around the base and connections. Flush several times to ensure proper operation and tight seals throughout.
Final Recommendations With Expert Tips
The last steps include caulking around the base for stability and aesthetics. Regular maintenance checks will prolong your toilet’s lifespan and prevent future problems. If issues arise during any stage of this process, consult a professional plumber to ensure quality work.
Your new project doesn’t need to be overwhelming. Completing these steps methodically prepares your bathroom effectively for its new fixture. Call (914) 580-1508 for expert support tailored to your needs. Located in Greenwich, CT, we offer comprehensive services designed to exceed expectations. Contact Greenwich Plumbing Services today to schedule your consultation.